

-
- Launch and login to the Smart Home Monitoring app using your MyRogers username and password.
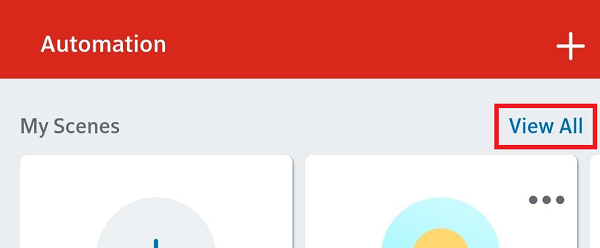
- Select the Automation tab
- Select View All beside My Scenes
- Select Create Scene then Create Custom
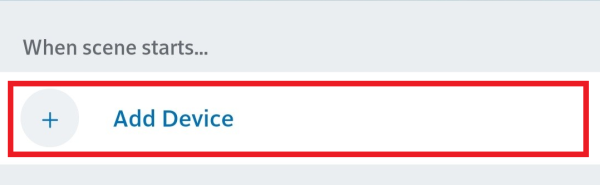
- Select Add Device
- Select the bubble beside Cameras then select the cameras you want to use for this Scene. You can choose All Cameras or specific ones by the names you’ve given them.
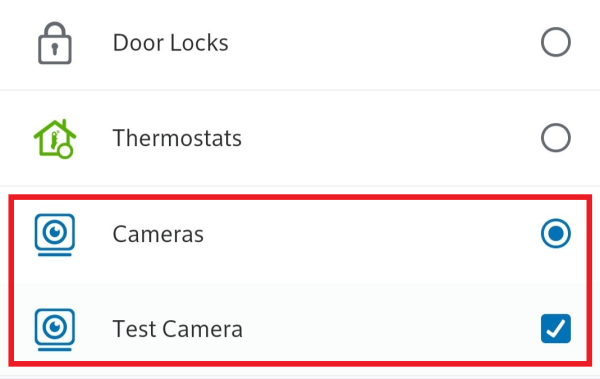
- Once you’ve selected the cameras you want to use, select Next.
- Choose the action you want the camera(s) to take when you activate the scene - they can either Take picture, or Record video – then select Save.
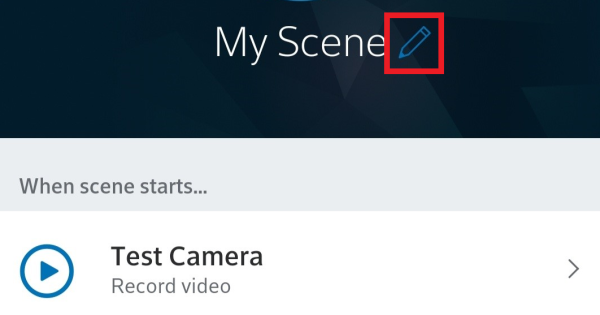
- You’ll return to the Scene creation page where it will now show the camera action being taken in the list. Select the pencil next to My Scene to give this new Scene a name/icon.
- Enter a new name into the Scene name field then Select an icon you’d prefer for this scene or keep the default one. Once done, select Save.
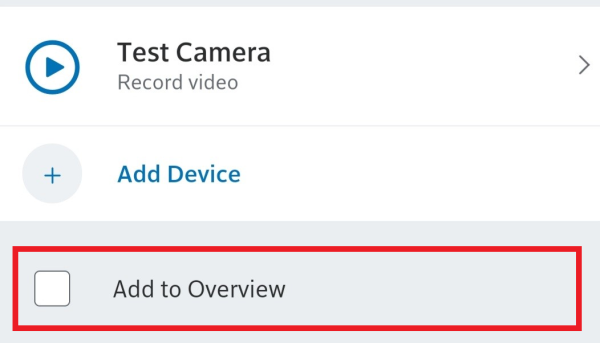
- Optional: uncheck Add to Overview if you only want this Scene available in the My Scenes list on the Automation tab.
- Select Save to finish creating the new Scene.


You’ll now see the Scene you created in the My Scenes list on the Automation and Overview tabs (if you did not uncheck the Add to Overview box above.) Simply tap this whenever you want to capture a picture or video from your camera(s).