

Follow these steps to install the window or door sensor for your Smart Home Monitoring system.
How to Install the Visonic Door/Window Sensor
Before you begin
We recommend pairing your sensor to your Smart Home Monitoring system before attaching it to your door or window.
Haven’t paired the sensor? Visit the pairing instructions for customers with a Touchpad or customers without a Touchpad.
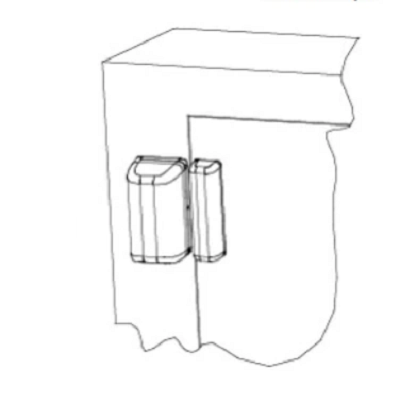
Please make sure that the sensor and magnet is located less than 1.27 cm (0.5 inch) from each other. For optimal results, it is highly recommended to attach the Door/Window Sensor to the fixed frame and the magnet to the moving part of the door or window.
Install your window or door sensor
- Hold the sensor near the top of the door or window frame, close to the opening edge of the door or window. This is the mounting location for the sensor.
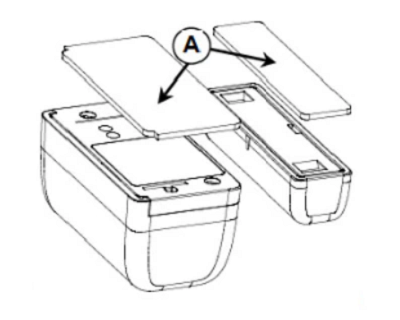
- Attach the provided adhesive to the back of the sensor and affix the sensor to the door or window frame (Figure 1). Press firmly and hold in place for a few seconds. Secure it with silicone.
- Hold the magnet onto the moving part of the door or window, close to the sensor. Make sure the alignment marks of both the sensor and the magnet are facing each other and are properly aligned. Attach the provided adhesive to the back of the magnet and affix the magnet to the door or window (Figure 2). Press firmly and hold in place for a few seconds. Secure it with silicone.


Name the sensor using the Smart Home Monitoring app
Once you’ve paired and installed your new sensor, give it a unique name based on where it’s placed in your home.
- From the Place Devices screen in the Setup menu, select Place located beside the device.
- You can get to this menu by tapping More, then Add Devices, then Place Devices.
- Select the applicable Door or Window radio button to identify where you have placed the sensor.
- Follow the on-screen instructions and tap Continue as you complete each step. This will bring you to the Name & Test screen.
- In the Device Name field, give your device a unique name, for example, “Front Door”.
- Tap Done and the tap Continue. This will return you to the Place Devices screen where you can continue to name and place any remaining devices, if applicable.
- When you’re done, tap Done Placing Devices.